Every dollar you leave on the table starts with a bad cut. Not a bad trap, not a bad location — a bad cut at the skinning board. Graders at auction houses see thousands of pelts per season. They can spot a knife slip from across the table. And they price accordingly.
This guide covers the specific cuts, techniques, and field decisions that separate a Grade 1 pelt from a Grade 3 — and what that difference actually costs you.
What Does a Grader Actually Look At?
Graders evaluate four things in the first 30 seconds: primeness, size, damage, and preparation quality. The first two you can’t fully control in the field. The last two are entirely on you.
Preparation quality includes symmetry of cuts, absence of flesh and fat, proper stretching, and no knife nicks through the hide. A single cut through the leather side — even a small one — can drop a pelt an entire grade. On a prime beaver or otter, that’s a $15–$40 loss per animal.
The Two Cuts That Determine Everything
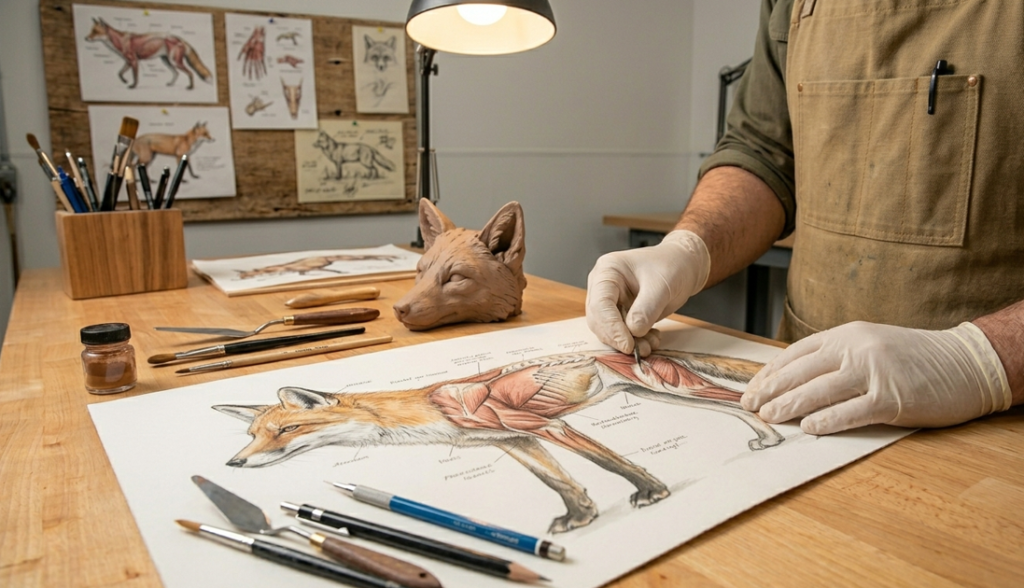
For most furbearers — muskrat, mink, beaver, raccoon, fox — the cased skinning method is the industry standard. Two cuts define the outcome.
The hind leg cut runs from the center of one hind pad, up the inside of the leg, across the vent, and down the other leg. Keep this cut tight to the bone. Drifting outward tears the belly fur, which graders penalize heavily on species like mink and marten where belly color matters.
The tail split on beaver and muskrat must run exactly along the ventral midline. An off-center tail split creates an asymmetric pelt that stretches unevenly. Uneven stretch means uneven fur density on the board — and graders measure that.
Think of it like cutting a mat board for a picture frame. A half-millimeter drift at the start becomes a 5mm gap at the finish. The error compounds.
Does Field Skinning vs. Home Skinning Affect Grade?
Yes — significantly. Pelts skinned in the field within 2 hours of harvest consistently grade higher than those held overnight before processing, even when refrigerated. Rigor mortis makes the hide stiffer and harder to pull cleanly around the face and legs.
A trapper working a 40-trap line in Wisconsin documented this directly: he split his season into two halves, processing half his catch in the field and half at home the following morning. Field-processed pelts averaged 0.4 grades higher at the NAFA auction, translating to $310 additional revenue over 80 animals — on the same trap line, same species, same season.
The tradeoff is real. Field skinning saves grade but costs time and requires carrying a full kit. In cold weather below 20°F, you have more flexibility — carcasses stay pliable longer. In temperatures above freezing, the window closes fast.
Knife Control: The Mechanics of a Clean Cut
Use a short, stiff blade — 3 to 3.5 inches — for detail work around legs and face. A long flexible blade gives you less control on tight curves. Keep your edge sharp enough to shave arm hair. A dull knife requires pressure; pressure causes slips.
The correct grip for hide work is a modified pinch grip: thumb and forefinger on the blade spine, not the handle. This limits blade travel if the hide releases suddenly. Most nicks happen when the hide pops free and the knife keeps moving.
- Always cut away from the carcass, not toward it
- Use your non-knife hand to create tension on the hide — let the blade follow the tension, not force through it
“The single most common mistake I see from intermediate trappers is rushing the leg circles. Take an extra 45 seconds per leg. A torn axilla on a mink costs you more than the time you saved.”
Fleshing and Fat Removal: Where Most Grades Are Lost
Clean skinning gets the hide off. Fleshing determines what grade it receives.
Residual fat left on the leather side causes two problems: it prevents proper drying, leading to slippage (fur pulling free from the hide), and it creates grease stains that penetrate the fur fiber. Both are automatic grade reductions at any major auction house, including NAFA and American Legend.
Use a two-beam fleshing setup when possible. Work from tail to head with a dull fleshing knife or a PVC beam and a draw knife. Apply even, overlapping strokes. The goal is to remove the white fat layer without thinning the leather.
Stretching and Drying: The Final Grade Multiplier
| Factor | Correct Practice | Common Mistake | Grade Impact |
| Stretcher size | Species-specific width-to-length ratio | Overstretching to inflate size | Thin leather, fur separation |
| Fur side | Fur in during initial drying | Fur out from the start | Matting, guard hair damage |
| Drying temperature | 50–65°F, good airflow | Near heat source or in sun | Hardened leather, cracking |
| Drying time | 5–7 days for most species | Removed early, still damp | Mold, slippage at auction |
Overstretching is the most misunderstood mistake. Trappers assume a larger pelt means a higher price. Graders measure density. A beaver hide stretched 20% beyond its natural size shows thin fur coverage and reduced leather integrity. You gain half an inch and lose a full grade.
“I can tell an overstretched pelt in under five seconds. The fur parts when I run my hand against the grain. That pelt goes straight to the lower grade pile, regardless of how prime the fur is.”
Which Species Require the Most Precise Cuts?
Mink, marten, and fisher are the most cut-sensitive species in North American fur harvesting. Their value is concentrated in the belly fur and the uniformity of the pelt shape. Any asymmetry in the hind leg cut or face opening shows immediately on the stretcher.
Beaver and otter are more forgiving on cut geometry but extremely sensitive to fleshing quality. Their thick fat layer means incomplete fleshing is the primary grade killer.
Raccoon and coyote — the most commonly harvested species by volume — are graded heavily on size and primeness, but preparation errors still cost real money. A coyote with knife nicks through the hide loses $8–$15 at auction. Multiply that across a 60-animal season.
Building a Repeatable System
Consistency is what separates a trapper who earns $4,200 from a season from one who earns $6,800 on the same number of animals. The difference is a repeatable process applied to every single pelt.
- Skin within 2 hours of harvest when temperature allows
- Complete the hind leg cut in one continuous stroke per side
- Flesh immediately after skinning, before the membrane dries
- Match stretcher size to species standard charts (available through the Fur Takers of America)
- Dry fur-in for the first 48 hours, then flip to leather-in for finish drying
The Fur Takers of America and North American Fur Auctions (NAFA) both publish species-specific preparation standards. These are the actual documents graders reference. Read them once per season before your first harvest.
Precision isn’t about being slow. It’s about making the right cut the first time, every time — because there’s no fixing a knife nick after the fact.